


Hi, friends! Happy almost-summer. It’s been a minute, and I have lots to share.


On the Menu:
Beef Burrito Bowl with Cauliflower Rice
Waldorf-ish Salad with Chicken and Lots of Dill
Baked Camembert Cheese with Honey
Green Goddess Chopped
Routines:
Anti-Inflammatory Face Mask (2-ingredients!)
Infrared/Near Infrared Light Therapy
1. Beef Burrito Bowl with Cauliflower Rice

Ingredients:
Cauliflower Rice:
1 package of frozen cauliflower rice (gets crispier than fresh!)
fresh lime juice + zest
extra virgin olive oil
pink salt
garlic powder
Beef:
1 lb grass-fed meat of choice — beef, bison, ancestral blend
extra virgin olive oil or avocado oil
pink salt
black pepper
onion powder
garlic powder
cumin
chili powder
chipotle powder
Peppers and Onions:
1 red bell pepper, thinly sliced
1 yellow onion, thinly sliced
extra virgin olive oil
pink salt
Guacamole:
1 ripe avocado
handful fresh cilantro
1/4 - 1/2 red onion, diced
juice of 1 lime
generous pink salt and freshly ground black pepper
Steps:
Make cauliflower rice.
Heat 1 T oil to medium-high in a sauté pan (ideally one with a lid). Take cauliflower rice out of the freezer and pound out any clumps, then open.
When oil is hot, pour out the rice, toss to coat, and season very generously with salt. Then, cover. and let it sit and do it’s thing for at least a few minutes (this will yield crispy results—we are sucking out all the moisture). Toss again, add more salt, and continue to cook.
When it starts to get dry on the bottom, squeeze the lime juice, and repeat this process until that juice has dried up. Continue until rice is nicely crispy at the bottom. Remove from heat.
Cook the meat.
In a separate skillet, turn the heat to medium-high, and add another 1-2 T oil. When hot, and the ground meat and use a wooden spoon to break it up.
Add salt, pepper, onion powder, garlic powder, cumin, chili powder and chipotle powder. Mix well, and continue stirring occasionally until evenly browned and cooked. Remove from heat.
Saute the peppers and onions.
In the same or a different skillet, turn to medium-high and add oil. Add sliced peppers, onions and salt. Cook ~5 minutes, stirring occasionally, until softened and caramelized.
Make quick guacamole.
Mash the guacamole, and add finely chopped cilantro, diced red onion, lime juice, generous salt and pepper.
Assemble!
Layer bowls with cauliflower rice as the base, then meat, peppers and onions, and guacamole. Squeeze extra lime if desired. Enjoy!
2. Waldorf-ish Salad with Chicken and Lots of Dill
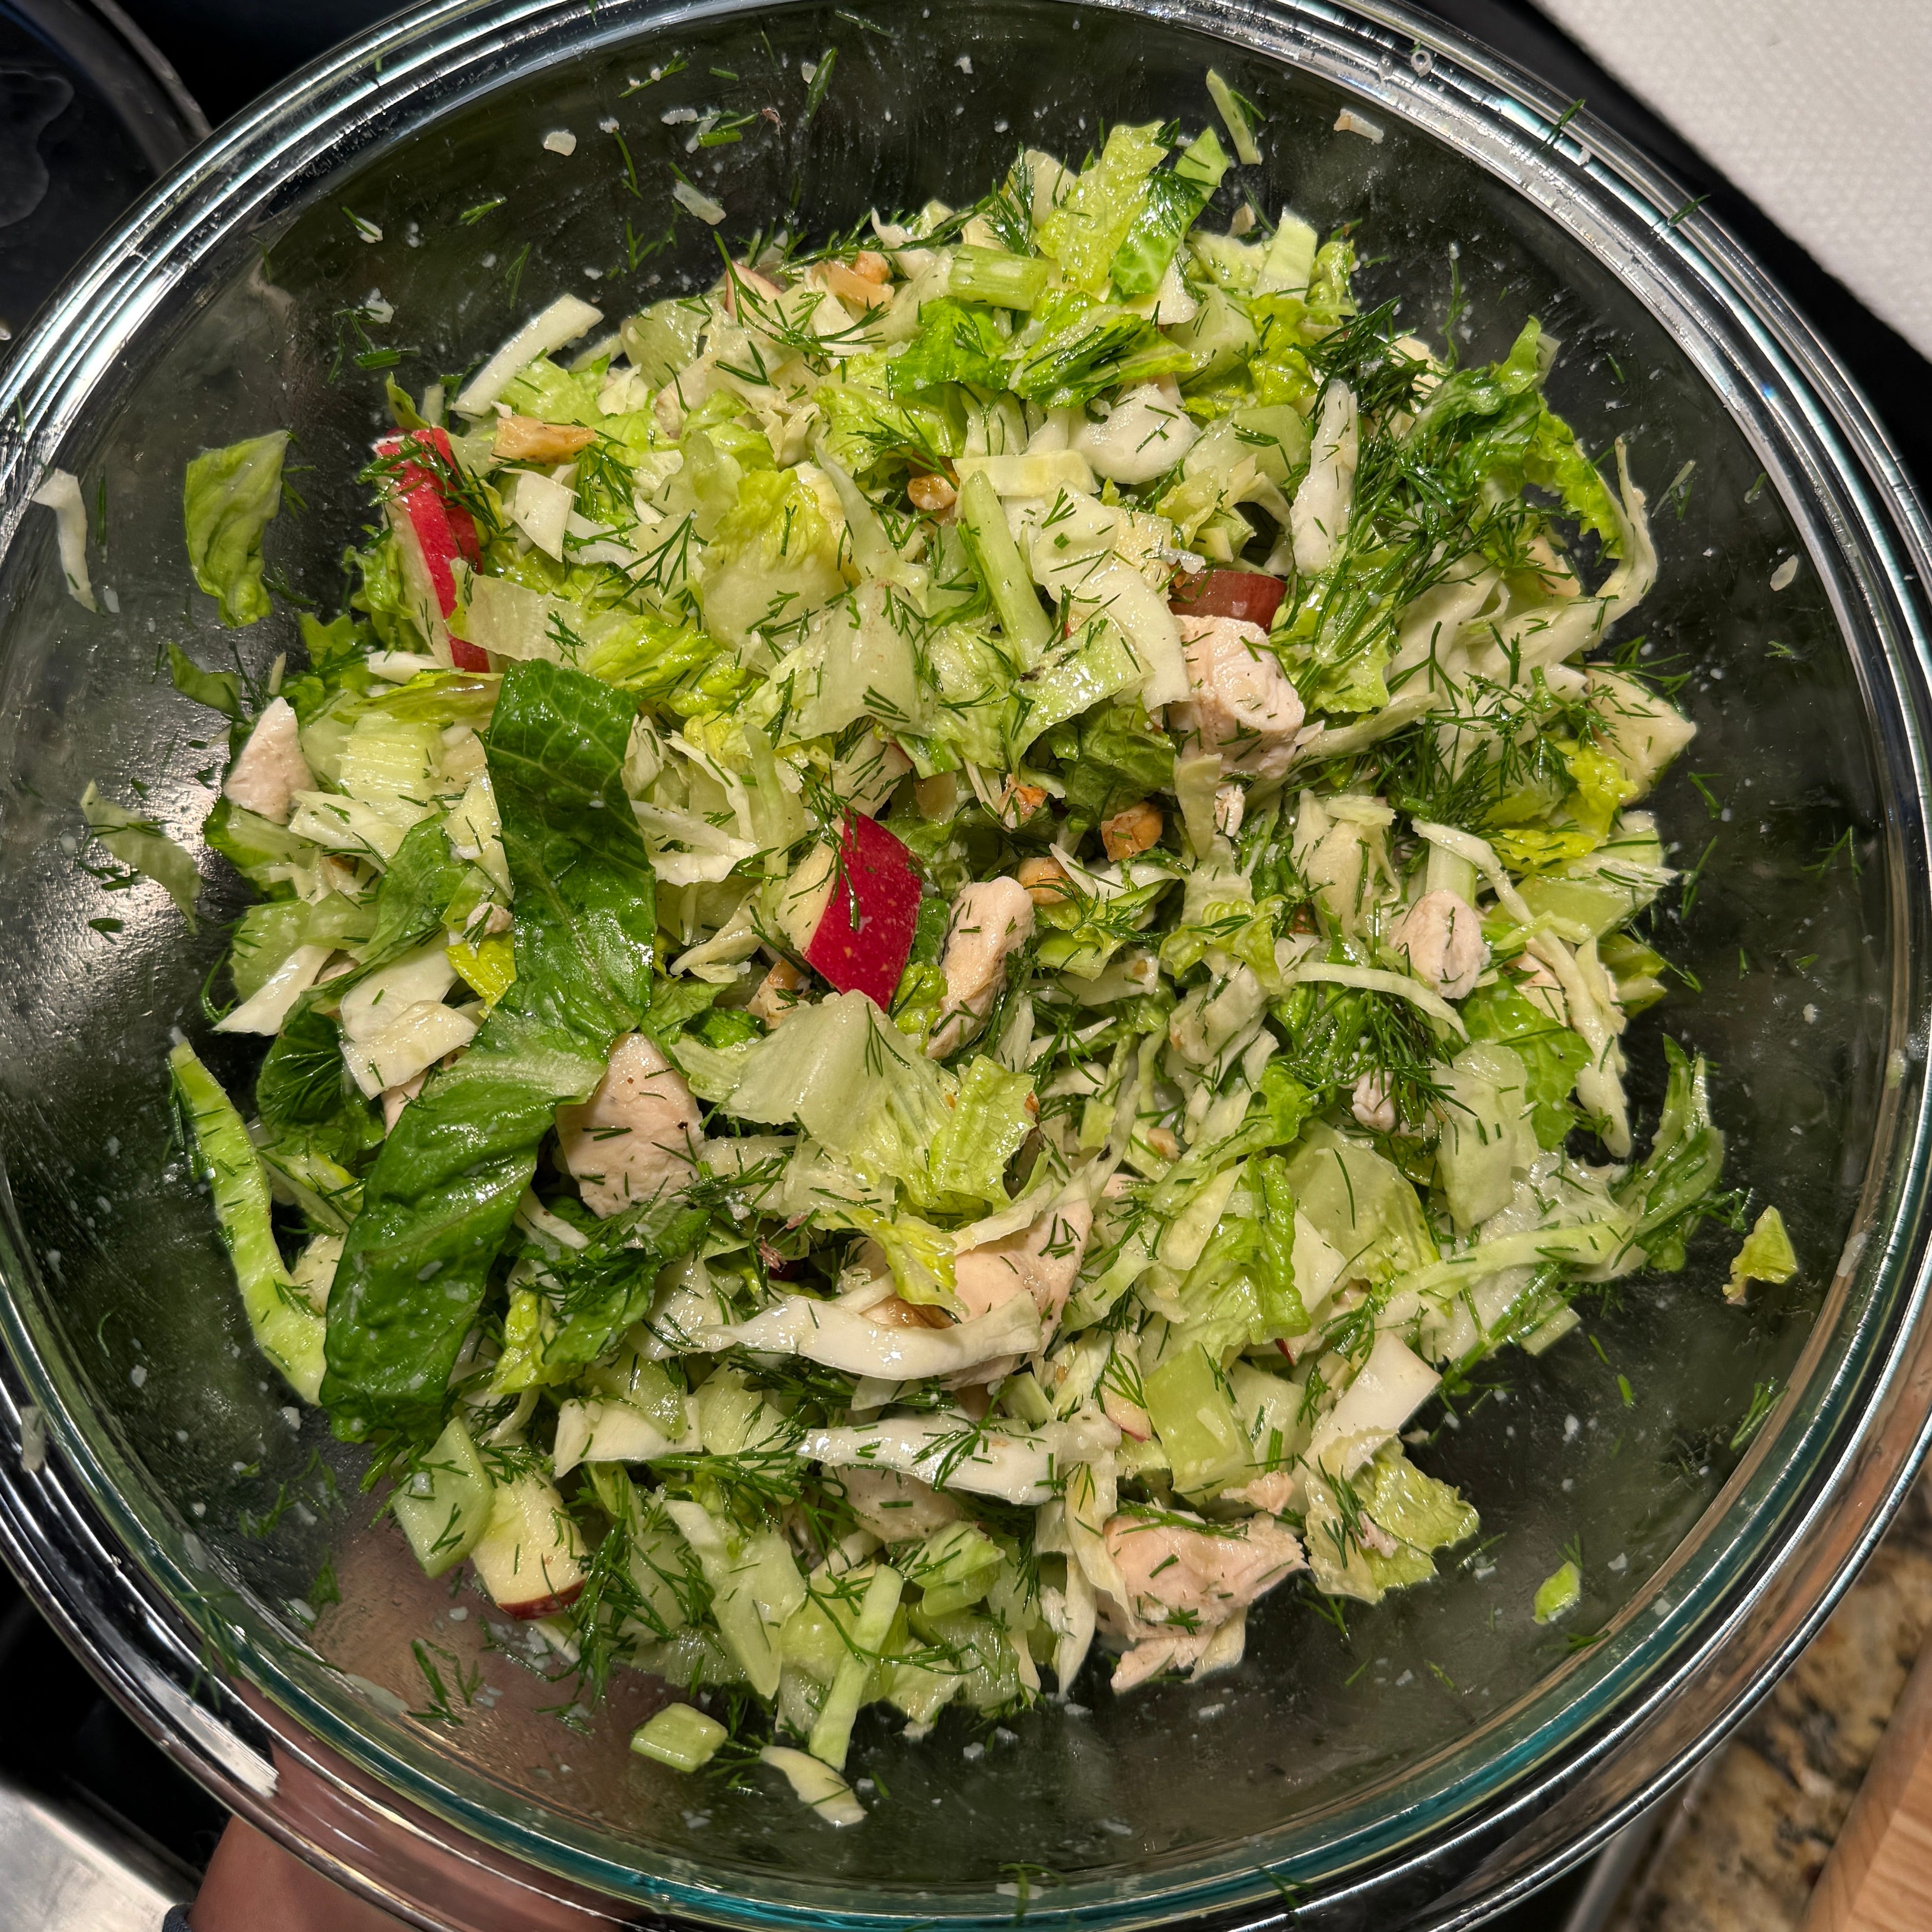
Ingredients:
any combo of hardy lettuces — I did cabbage and romaine
fuji apple, chopped
red grapes, halved or quartered
walnuts, roughly chopped
celery stalk(s), thinly sliced
LOTS of fresh dill, chopped
chopped chicken — leftover, rotisserie, or chicken breasts (baked at 350 for 25-30 minutes until internal temp of 160), chopped
OG salad dressing, or a combo of extra virgin olive oil and white balsamic/white wine vinegar (3:1 ratio), lemon juice, dijon, salt
optional cheese: shaved manchego or freshly grated parmesan
pink salt and freshly ground black pepper
Steps:
Bake the chicken breasts if needed. Take out of the oven, chop, and cool as you prep the other ingredients.
Chop the lettuce, apple,grapes, walnuts, celery and dill, and add to a bowl.
Add the chicken, a pinch of salt, and a good spoonful or two of the dressing. Toss, taste, and ad more dressing as needed.
Add the cheese, give it one last mix, and serve!
3. Baked Camembert with Honey

Ingredients:
1 round of soft cheese with a rind like camembert or brie
toppings of choice: honey, jam, chopped nuts, flaky salt
to serve: fuji apple slices, Top Seedz 6 Seed crackers, flackers cinnamon currant, Simple Mills sea salt crackers, baguette, or cracker of choice
Steps:
Preheat oven to 350.
If you want to transfer the cheese to a separate serving dish after heating, line a baking sheet with unbleached parchment paper. If you want to serve it in an ovenproof dish, no need to line it.
Place cheese in the dish. Bake for 10-20 minutes or until soft, hot and puffed slightly in the middle. Cook time will depend on the size of the wheel.
Add toppings, and serve immediately! It will be peak hot and melty for ~15 minutes.
4. Green Goddess Chopped Salad


I love this recipe because it makes a huge batch, and it stays well in the fridge for a few days and just gets more flavorful.
Ingredients:
For salad:
1 small head green cabbage, cored and thinly sliced
1/4 cup chives, chopped
1 bunch (yes whole bunch) green onions/scallions
optional: 3-4 baby cucumbers, chopped
For dressing:
1 cup basil leaves
1 cup fresh spinach
1 cloves garlic
1 small shallot
juice of 2 lemons
1/4 cup extra virgin olive oil
2 T rice vinegar or apple cider vinegar
1/4 cup nuts — I like walnuts or cashews
1/3 cup grated parmesan (or nutritional yeast, for dairy-free/vegan)
1 tsp pink salt
extra chives, if you have
Steps:
Chop all salad ingredients and add to a large bowl.
In a blender or bullet, add the olive oil, vinegar and lemon juice. Blend. Then, add all the other dressing ingredients.
Pour the dressing over the salad, and toss well to coat. Enjoy!
Anti-Inflammatory Face Mask


Stolen from Ella Henry, aka . This is truly the easiest, best homemade mask full of antioxidants. It calms, heals and detoxes my skin anytime it’s unhappy. My face feels so soft and glowy after. The quality of the ingredients matters to get the most anti-inflammatory benefit.
*warning: be careful if you do this mask at night… if you accidentally get some matcha in your mouth (as I once did), you could be up all night*
Ingredients:
1 T manuka or other high-quality raw, unfiltered honey
1 tsp ceremonial grade matcha
1-2 drops tea tree essential oil (great for acne/breakouts)
Mix all together in a small bowl and apply to your face. Leave on for at least 20 minutes or as long as you like. Best if you’re seated and not moving around as it can drip if your body heat increases.
Red/Near Infrared Light Therapy:


Best purchase of 2025 was my MitoPro Red Light Panel which emits both “red” and “near-infrared” light. Let me explain.
Firstly, any “light therapy” like this exposes us to a much brighter light than other indoor lights which stimulates changes to chemicals and hormones in the body. This can help mitigate seasonal depression (S.A.D., or Seasonal Affective Disorder) and improve mood, sleep disorders and cognitive performance. Basic “light therapy” is on the visible part of the light spectrum (between 400-480 nm).
Every tissue in the body has a unique type of light and wavelength that it responds to and absorbs best. For example, light vibrating at the wavelength that we see as blue penetrates deeply into the skin for aesthetic benefits (why LED masks like the Dr Dennis Gross one have a blue-ish setting that targets acne and inflammation).
Red light and near-infrared light falls on a totally different spectrum of light. Red light is visible to the human eye, falls between 630-700 nm, and is used to treat the surface of the skin. All the red light therapy masks you see on the market use this spectrum of light to boost healing and cell rejuvenation in the outer layer of skin. It has great anti-aging benefits.
Near-infrared wavelengths are almost invisible (you can see it if you put your phone camera up) and fall between 700-1200 nm. These longer wavelengths allow for deeper penetration into the body, delivering energy to our cells, stimulating healing and relieving pain.
The beauty of NIR (near-infrared light) is the healing effect it has on individual cells. This spectrum penetrates deeply into the mitochondria, increasing cell metabolism, protein synthesis (including collagen) and antioxidant activity, reducing inflammation, and regenerating and replicating healthy cells.
Benefits of Near-Infrared Therapy:
Boosts metabolism
Recharges mitochondria
Stimulates white blood cell production
Reduces body fat
Promotes cell regeneration
Increases energy
Reduces inflammation
Improves circulation
Speeds up recovery
Decreases joint and muscle pain
Faster wound healing
Pain relief
Skin rejuvenation
General anti-aging benefits and body rejuvenation
I love this panel because it me to select red, near-infrared, or both. I do at least a 15 minute session daily set to both, which benefits skin and internal healing. What I’ve noticed:
Noticeable improvement in mood and energy, especially in the winter
If I do a hard workout then use it, I am barely sore. If I use it on already-sore or stiff muscles (or feet, after wearing uncomfortable shoes), I notice almost immediate relief.
Reduction in fine lines, smoother skin texture
I got a skin rash/hives and used it to reduce inflammation and calm the skin, and I noticed immediate reduction in irritation and swelling.
I used it on my stomach for cramping and it helped a lot.
When I’m sick, it helps to reduce congestion and upper respiratory inflammation
After my friend got a microneedling session, she used it to speed up healing time (and the aesthetician also used it in her session for the same reason).
I also have the Dr. Dennis Gross LED red light mask, and this is by far superior for aesthetic skin benefits. Heals acne, improves skin texture and smoothness, and more.
Anyway, NOT AN AD, just obsessed.
Bye!