How to Make Cooking Easy
& everything you're doing wrong
People make a lot of mistakes in the kitchen that make cooking more inconvenient, less appealing, and less delicious. It doesn’t need to be this way! Some things should go in the fridge, some shouldn’t. Certain routines create more options to cook when you want, but not when you don’t. Simple swaps at the grocery store set you up for yummy, fresh food; others for bad, mushy produce and unrewarding results. Here are my solutions to make your food taste better, your options more flexible, and your kitchen set up for success.
GROCERIES:
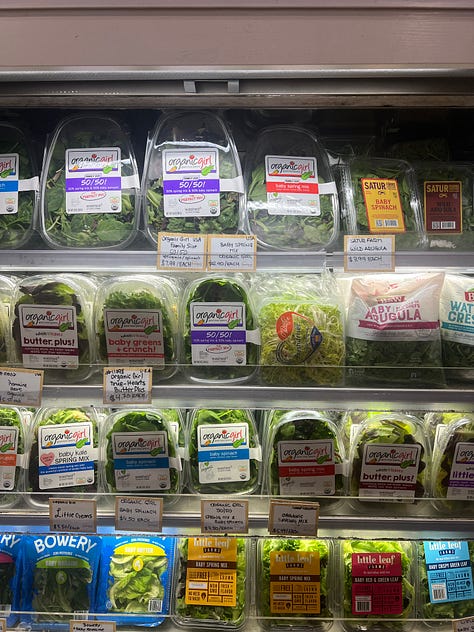
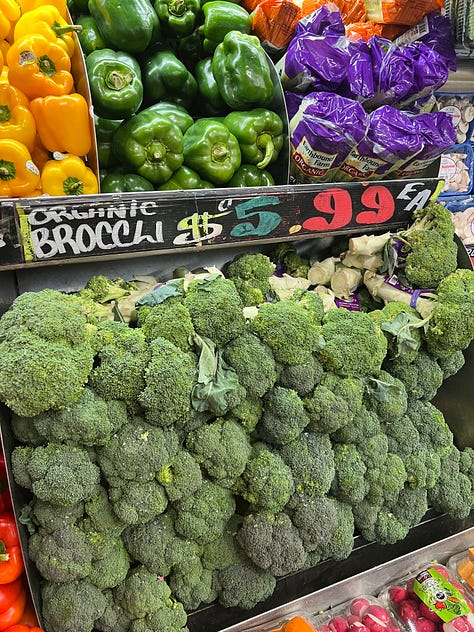
Stop buying pre-cut vegetables unless they’re going in soup or other liquid. Having been cut long before you buy them, they are dried out and will end up soggy regardless of preparation. The only veg I buy “prepped” is cauliflower rice.
For example, the difference between steaming fresh cut broccoli and pre-cut broccoli—pre-cut has no fibrous goodness left and just wilts with the slightest bit of heat into a mushy mess, but fresh-cut broccoli gets bright green and snappy, maintaining its structure and crunch beautifully (the perfect vehicle for tossing with butter and lemon).
Stop buying bagged tender lettuce. The lack of structure in the container makes the bag collect moisture and unsturdy greens go bad quickly.
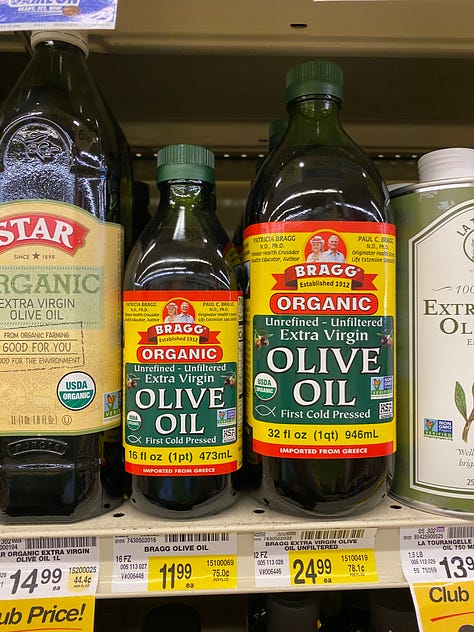
Be picky about olive oil. It should be extra virgin, organic, come in a dark glass bottle, and ideally single origin (look on the back, it should say it comes from one place or just one country). Blends are often adulterated and lower quality. The reason for dark glass bottles is 1) plastic leeches in overtime and when exposed to heat, and 2) sunlight seeping through clear bottles causes oxidation. Beyond the health benefits of better olive oil, it is one of the things that you can TASTE the difference, especially when using in salad dressings, etc.
STORAGE:
Citrus goes in the fridge, not on the counter.
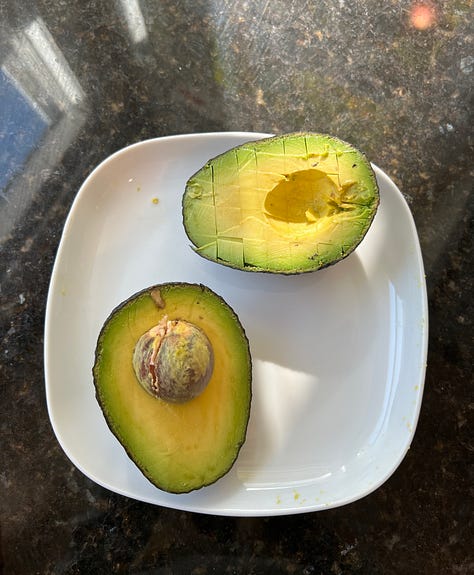
Avocados go on the counter if you need them ripe faster, and in the fridge if you want to slow the ripening. I am always horrified by how many people I see with the squishiest avocados sitting on the counter. Stop this!!!
Knowing I like to have 1/2 - 1 avocado a day, I buy them in various stages of ripeness—usually 1 ripe, 1 almost ripe, 1 greenish. I put the ripe and the almost-ripe in the fridge to have for the next 2-3 days, and the green on the counter until almost-ripe or ripe, then to the fridge. You get it.
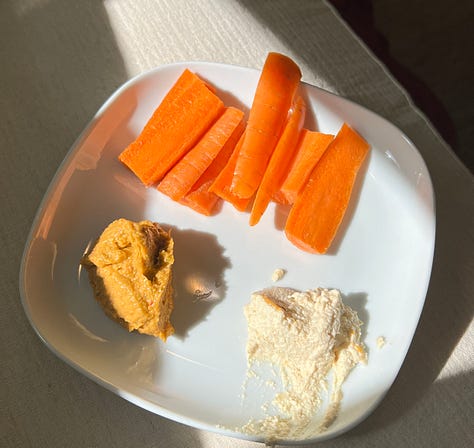
To keep carrots fresh and snappy for ever and ever, and to prevent drying, store in water.
For baby carrots, I transfer them to a ziploc and fill with just enough water to cover them. For large carrots, sometimes I wash, peel and halve lengthwise first for dipping (optional), then store in a rectangular glasslock tupperware with water just covering them.
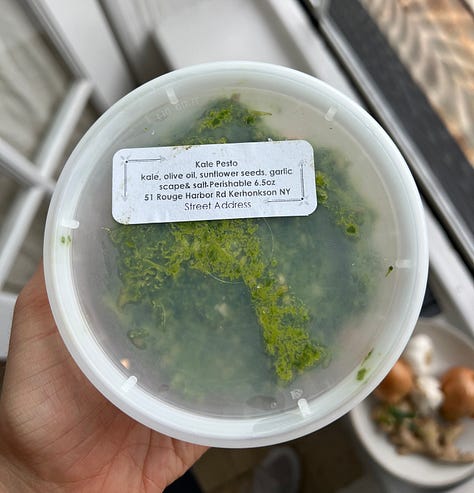
To keep pesto fresh for much longer (and create perfect portion sizes), freeze into cubes in an ice tray. Once frozen, pop the cubes into a plastic bag and return to the freezer for easy access. Whenever you want to use one, add a cube to sauce or pasta, or melt quickly on the stove or in the microwave.
Store tomatoes in the fridge if not using right away.
Store garlic, onions and unpeeled ginger/turmeric root on the counter.
To keep fresh as long as possible, store soy sauce/tamari/coconut aminos in the fridge. Yes, you can store at room temp, but it will keep better in the fridge.
I don’t always follow my own advice here because of limited fridge space, but nuts and nut butters keep much longer in the fridge.
PRODUCTS—tupperware (set + extra rectangles + large ones), bins for fridge organizing, stackable fridge wine rack, aesthetic pantry containers, airtight pantry containers (weck + ball jars), tea boxes, salt cellar
PREP:
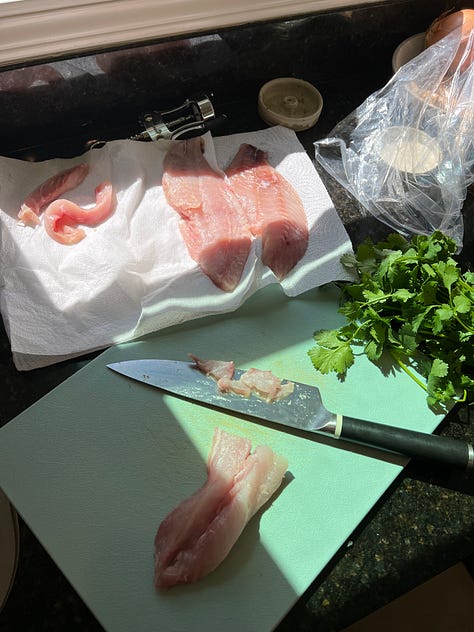
How to Chop—when cutting anything with a chef’s knife (the best and most versatile), start with the tip of the knife down on the cutting board and repeatedly chop by bringing the bottom of the knife down to meet the tip. This is a much faster and more efficient chopping method than raising the knife tip again and again off the cutting board, or starting from the back of the blade. Video here for for reference.
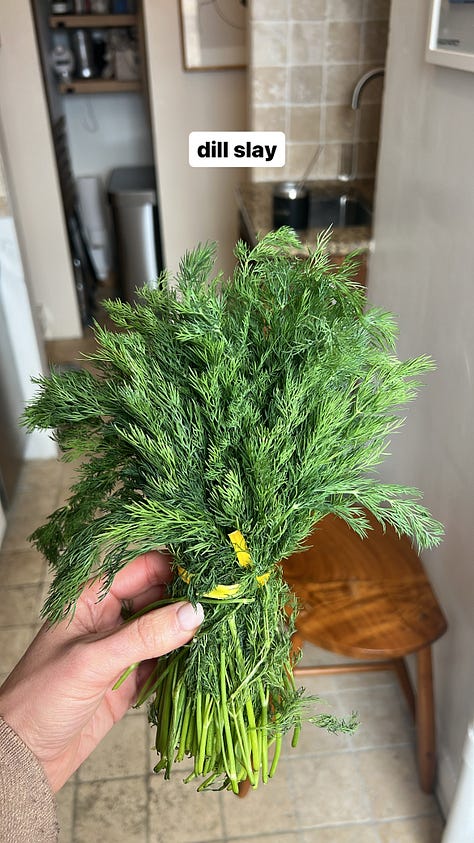
Chopping Herbs—when chopping tender herbs (i.e. not thyme or rosemary which have thicker stems that need removing), start by cleanly separating the bottom stems from the tender upper leaves—I usually just chop the bunch right above the twist-tie or right below where the leaves start to fill out. Then, gather the leaves up into as tight a ball as you can (do in 2 batches, if needed) on the cutting board. Holding the ball carefully with your non-dominant hand, use the same chopping method as above to cut the herbs into the thinnest strips you can. Balling them up helps expedite this, even if your chopping skills aren’t expert.
Storing Herbs—the best way is to wrap them in damp paper towel and place inside a sealed ziploc or other airtight container. Not the prettiest, but they stay fresh for much longer.
Peeling Garlic—to do easily, lightly flatten each clove with the side of a chef’s knife to “break the seal”, then peel the rest with your hands into the trash. It may require a little futzing with your hands at first, but loosening it this way first removes the need to cut the ends AND makes the peel come off easier/faster than chopping the ends and forcibly pulling away (which also makes a mess). Also, chopping the ends first wastes more garlic as people typically cut too much into the clove. It’s not an onion! It doesn’t need so much manhandling.
Thawing/Freezing—after buying meat or fish, store it in the freezer except anything you plan to make that night or the next day. If you want to make something for dinner, take it out the freezer in the morning and put in the sink to defrost. If you don’t end up making it that night, IT IS FINE to put it back in the freezer for another day, or keeping it defrosted to make the next day. I try not to refreeze meat/fish more than 3 times, but generally it isn’t a big deal. Don’t leave raw animal products in the fridge for more than 3 days.
TOOLS—chef’s knife (the number of people’s houses I have considerable difficulty cooking at—including my own childhood home—because there are no good, sharp, large knives… budget pick here), hand citrus squeezer, microplane/zester, any cutting board (boos blocks are great and avoid plastic).
COOKING:
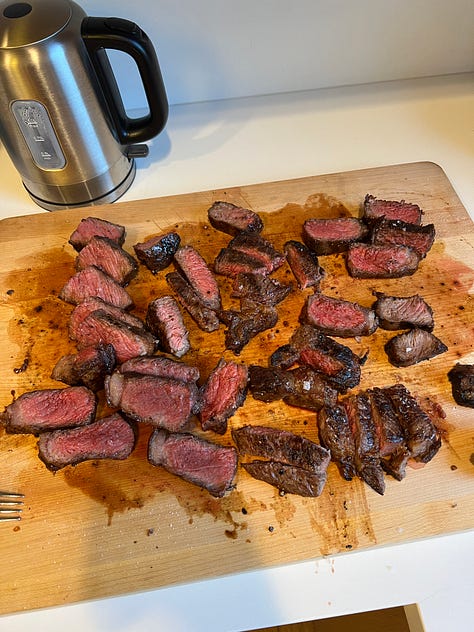
The best tip I ever received was CLEAN AS YOU GO. It is much more fun to cook when you don’t have a frightening kitchen to clean up at the end. Every time I use something and I have a couple minutes before the next step, I rinse/clean/put it away. The kitchen never reaches disaster-level, and cleanup doesn’t totally suck.
To make anything cook faster or stronger on the stove (boil water, cook the inside of a food quicker), cover it. Well-fitted lid is best.
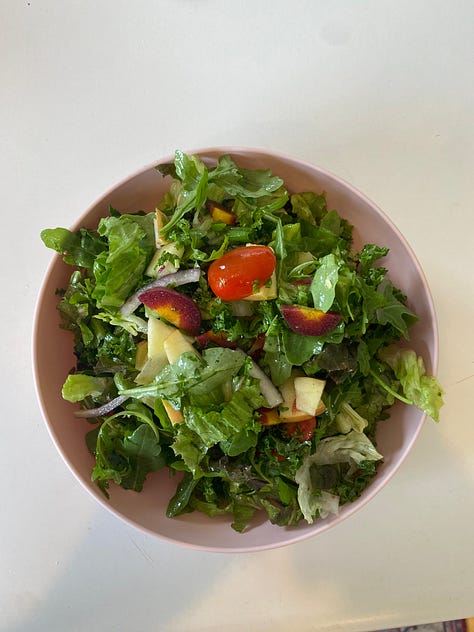
Season your Salad—season your greens. Yes, even lettuce needs salt.
Season your Water—heavily. I’m talking SEA WATER level. I use those tall cylindrical sea salt containers so as to not waste my pink himalayan salt, and I add like 1/8 - 1/4 cup depending on how much is going in the water. This goes for boiling water for pasta, steamed veg, etc. (not for hard boiled eggs in shell, obviously). It’s your first opportunity to season what you’re cooking! Don’t be shy.
Marinating—for marinating meat UNDER 2 hours, use lemon juice and zest. For OVER 2 hours, just zest. The acidity of the juice toughens the meat if its sitting for more than 2 hours.
Browning—use a cast iron skillet or dutch oven on high heat.
Cooking Eggs—to minimize this often-unpleasant experience, 1. use a clean nonstick skillet (blown away by this collection), 2. when cooked, immediately transfer the eggs out of the pan to a plate/plates for serving, and 3. rinse the pan right away before the egg remnants get stubborn. After rinsing, leave in soapy water until you can attend to the dishes later. Put any egg-touched utensils in the water to soak.
Thawing Salad Dressing—my OG dressing is the best, but it separates and hardens a little in the fridge. I typically take it out when I start cooking (or ~20-30 min before eating) so it’s softened by the time I want to use it, and all it needs is a little shake (or re-blitz if it’s a big batch). If I want to make a last minute salad, I run the Nutri-Bullet vessel under hot water, rotating, for a couple minutes until thawed enough to shake up.
Chicken on the Stove—for breasts on the stove, take them off when the center of the thickest part reaches 157 degrees and let rest for at least 7 minutes to finish cooking. Taking it off at 165 will allow you to cut into it right away, but it may be a bit dry.
Roasting/Baking—line the pan/dish with unbleached parchment paper. It protects the food from contact with heavy metals (if using an aluminum sheet pan), and makes cleanup easy as you can just throw out the parchment after use.
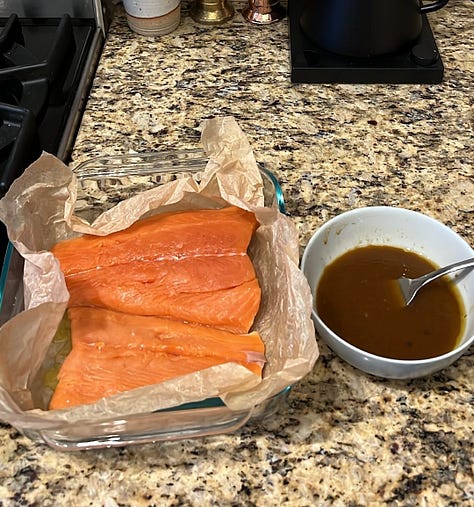
Maximizing flavor for roasting—to up the flavor of anything cooked in a marinade in the oven (like salmon), use a well-fitted baking dish and line it with parchment paper. This allows the marinade to touch more surface area, effectively cooking the food in the sauce. The parchment paper both creates a hammock to pull the marinade closer to the food being cooked, and as mentioned, minimizes cleanup.
Reheating in Oven—preheat to 350 and place the food in a well-fitted baking dish (like glass pyrex) or glasslock tupperware (if you stored it in one, just remove the lid). Pour a tiny bit of bone broth in just to cover the bottom (like 1/4 - 1/2”), cover the top with foil, and put in the oven. Whole chicken breasts usually take 20ish minutes with this method, so use that as a meter or check after 15 minutes.
Perfect Steamed Veggies—heat and cover a SALTY pot of water on the stove. Chop your broccoli, brussels, asparagus, green beans, whatever (not too small!). Throw them in the colander you will eventually use to drain them. Broccoli and brussels (halved) need 2 mins, asparagus 1-2 mins (thickness depending), and green beans 1 min. When the water boils, turn to low and add your veg. Cover and cook for the appropriate time, then remove from heat and drain into colander in the sink. Squeeze lemon. Let cool and dry a few minutes. Wipe out the pot used for water, and add the veg back in. Throw in a pat of salted butter, pink salt, pepper, and serve.
Crispy Cauliflower Rice—buy frozen cauliflower rice, not fresh. Keep in freezer until just before cooking to avoid sogginess. Heat olive oil in a pan over medium-high. Break up the bag of cauliflower rice with your hands. Add to the pan, breaking up any bits, toss to evenly coat, season LIBERALLY with salt (you’ll do this a few times), cover and let sit undisturbed for a bit. It will get crispy and lightly browned if you don’t fuss.
TOOLS—Stanley Tucci x Greenpan Ceramic Nonstick 6.5 Quart Pan (or any of the collection, particularly all the high-sided skillets which I find have the most uses with the least cleanup), lodge cast iron skillet, lodge dutch oven, pyrex baking dishes, unbleached parchment paper, food scale.
Cleaning Essentials—cleaning essentials kit with glass bottles (or this kit to include laundry), roll-up over-sink drying rack, soap-dispensing scrub brush (+ replacement heads), sink caddy sponge holder, simplehuman trash can (butterfly or 2-part recycler and trash).
That’s it for today! More to come if you guys are into this…



Love this new avenue of discussion! 🍀✅👌